Ok I had to share the Lorax pinata tuturial. I am actually going to post the directions to the tutorial I used and then just tell you how I changed and tweaked it to work for me.
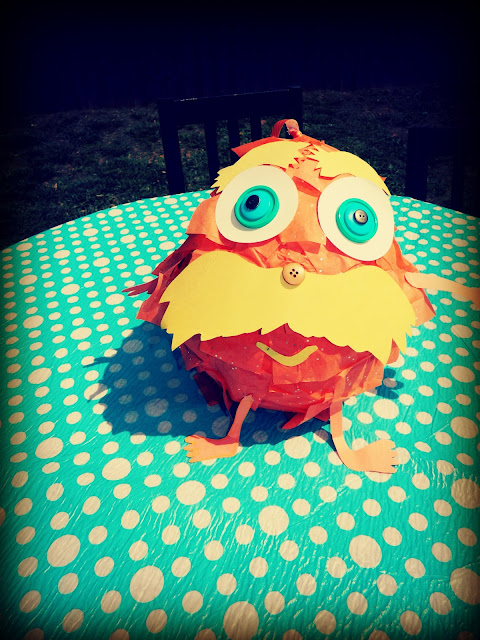
Here is my Lorax
What I did differently:
I used a button nose. Button eyes. I liked the character it added to Lorax. My tissue paper was glittery it was the only orange tissue paper I could find.. I think it worked well cause Seuss is always whimsical. I made my a normal sized pinata... well kind of Its not near as small as the one calls for in the directions. I had enough candy for everyone of the kids who participated to get some to take home. Warning... This is not as easy as the directions make it out to be... It was not completely clear to me on all things. I suggest drying each layer of newspaper before continuing on with a second layer, however its very difficult in a circle to tell where your first and second and third layers end and begin so I just covered it as well and thick as I could. With painting I used CHEAP paint that was waterproof and kid friendly. I only used one coat because you are covering it in orange tissue paper so no need to go painting it all crazy. Have fun make it your own and good luck!
here are some of the good ole Lorax in action


No comments:
Post a Comment